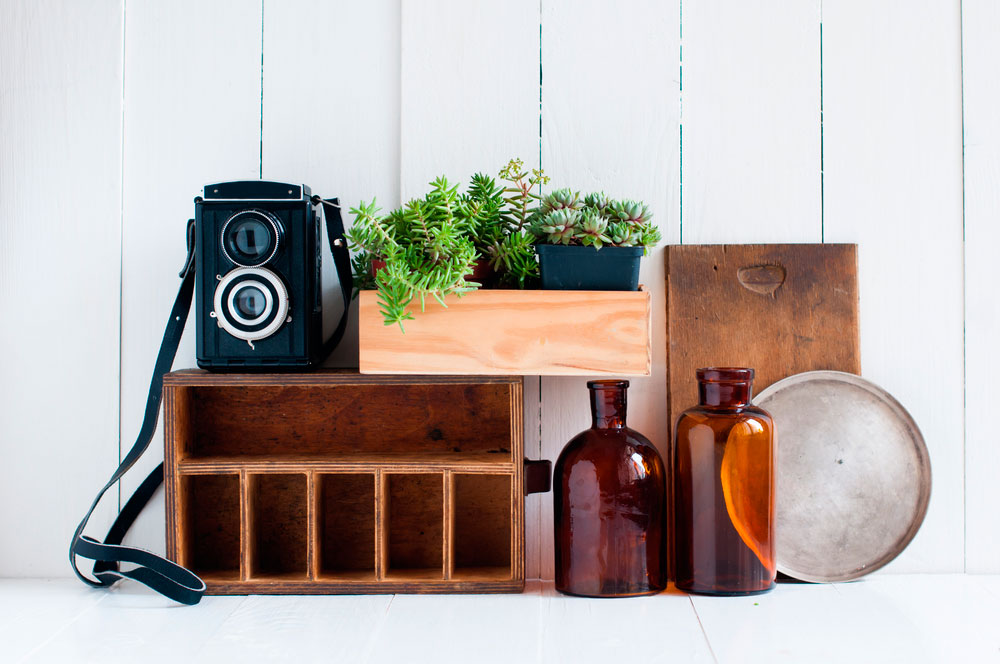
Keep calm! You don’t need to be a handyman to decorate a wooden box in vintage style. But we assure you that the result will look as if it had been done by a professional. Have we convinced you?
Let’s get to work! First of all, let’s clarify the characteristics of vintage style (although if you’re a #smiler, you’re sure you’ve got the lesson down pat). It’s all about recovering old furniture and combining it with a modern touch, or vice versa.
In this post we are going to give you lots of ideas to turn a simple wooden box into a vintage decorative element. Everyone will ask you where you got it from!
Table of Contents
TogglePrepare your workplace
Before customising your box, it is important to prepare the place where you are going to work. Make sure it’s a comfortable place, and make sure you can’t damage it with paints, glue or tools.
Also, have all the material you are going to need during the decoration ready. Mentally going over everything you need before you start can save you time having to go to the shop in the middle of the process.
Four ways to decorate wooden boxes
There are as many ways as you can imagine to decorate a box. However, we’ve put together a few techniques to show you. #Smiler, grab a pen and paper (or a screenshot for the more digital-minded) so you don’t miss a single step.
Decorating with a pickling effect
Paint stripping is a technique that removes the paint and exposes the undercoats in an irregular and uneven way. In other words, it looks similar to when a piece of furniture starts to peel with age and, after all, that is the effect we want to achieve.
To do this you will only need a sandpaper, you decide whether it is manual or electric. You will have to pass it over the surface until you get the effect you like.
The key to the decapé technique is to show the contrast between two tones. So, if your box has only one colour, you can first apply a coat of paint and then sand it.
New life with stamps and decoupage
The previous technique can also be combined with this decoration. Basically, it involves using stamps or cut-out images and attaching them to the box. In this way, we can create more complex designs that would be difficult to imitate with paint.
If you choose this option, you can include these designs only on one part of the wooden box, such as the lid. But you can also cover all the walls and get a more eye-catching and super personalised effect – there will be no other like it!
To carry out this technique you only need to get the stamps or images you want to use and a glue to stick them to the wood. The lack of glue can spoil your artwork and cause it to break.
The more classic style with photographs and fabrics
This option can be perfect to pay homage to a loved one. Using a picture (preferably in black and white) to decorate the box will make it both special and beautiful.
You can also use crochet strips or similar to place them and get a more vintage embossed effect. You can use glue or special glues for wood, or even hot silicone, but be careful not to burn yourself!
While for the photographs you can use the same technique as for the stamps and include one or more.
If you’re really inspired, this category includes all kinds of materials such as string, keys, dried or synthetic flowers. Let your imagination run wild and create a unique wooden box.
A more advanced technique: pyrography
Pyrography consists of burning the surface of the wood to achieve a darker colour. It can be used to create a word or a drawing. The easiest way is to make a template and mark it on the box with a pencil.
Then you only have to follow the lines you have marked with the pyro-engraver. You can buy this instrument for a price starting at 20 euros. If you like this technique, it will be worth the investment.
What can we use vintage boxes for?
Finally, here are some ideas on how you can use the boxes (apart from for decoration). You don’t need to think too hard to know that they can be used to store all kinds of things.
But have you ever thought of planting flowers in them? You don’t need to fill the box with soil, you can put the pot directly into it and you’ll get a fabulous effect.
They can also be used to organise your pantry or cupboard, but with a lot of style. Or you can even put them on a side table and leave sweets for your guests.
There are as many alternatives as you can imagine. Another way to use them is to combine them to build a small storage unit, a shelf or a wine cabinet. Can you think of any other ideas?


